Getting Started: Long Exposure Astrophotography released

Getting Started: Long Exposure Astrophotography is finally here! As some of you may know I have been working on a book that expanded on my original 19 page cobbled together booklet from over a year ago. Now, about a year, more than 220 pictures, 61,000 words and 346 pages later, the ultimate astrophotography how to is finally finished and ready for sale. If you are thinking about getting started in astrophotography, this is for you.

Getting Started: Long Exposure Astrophotography   You can find out more about the book here: https://www.allans-stuff.com/leap join the discussion board for the book here: https://www.allans-stuff.com/forum and if you like, purchase the book here: https://amzn.to/2J8K1hR It should appear on all the Amazon websites (US and Europe for now) within 5-7 days but is available on the link above for immediate shipment. Thanks to everyone who made this possible! I hope you all enjoy the book.

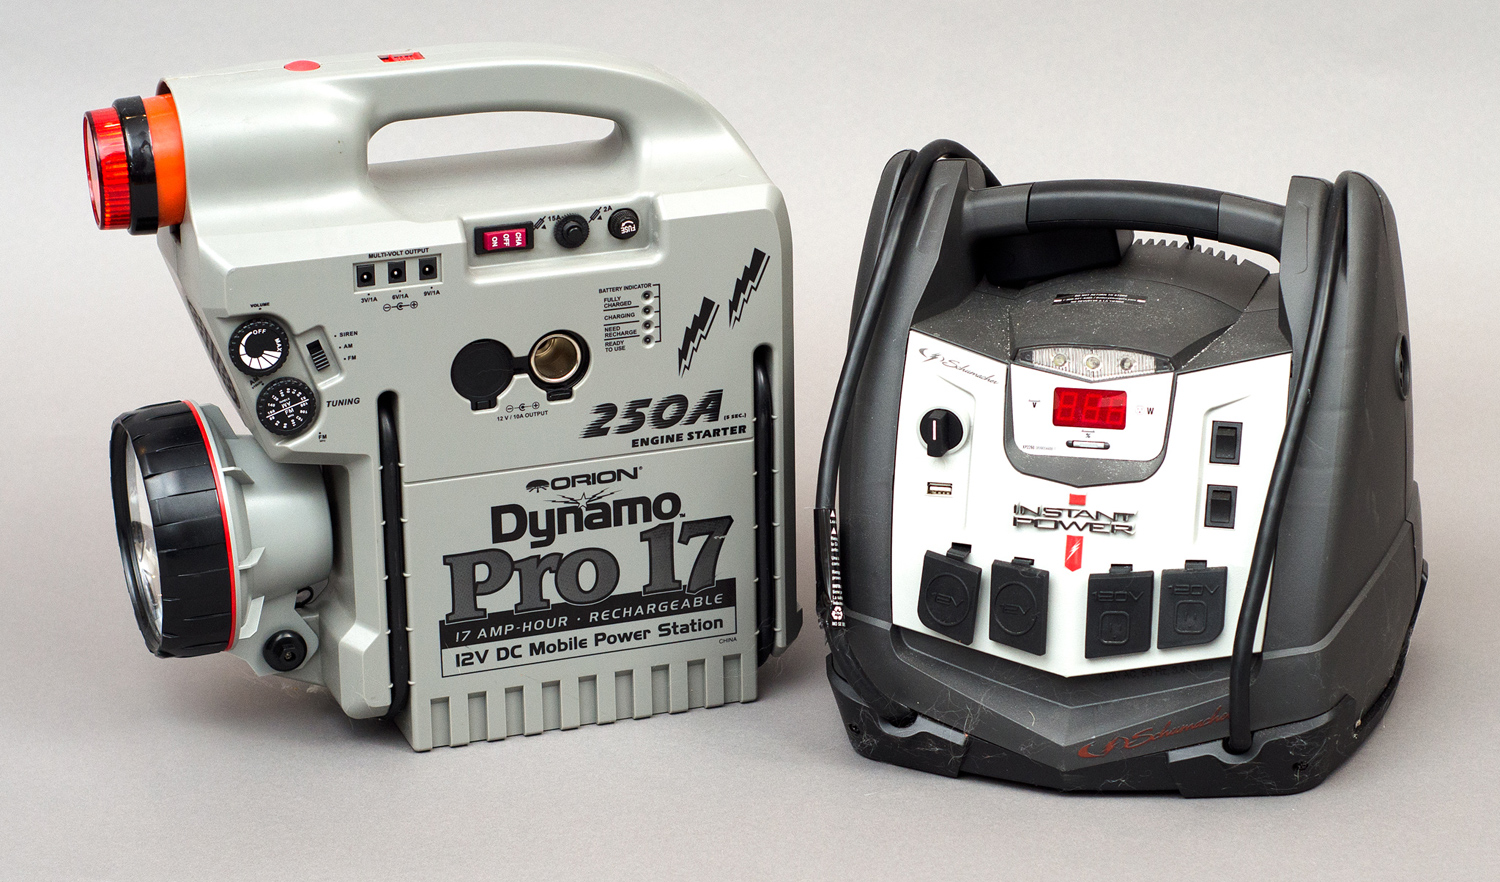
The book covers everything you need to know to get started including topics such as general astrophotography equipment, DSLR astrophotography, astrophotography software, and much more.

Here is the description directly from Amazon:

              A primer and a fully-formed, practical format for entering the world of long exposure astrophotography, Allan Hall’s Getting Started: Long Exposure astrophotography brings the rewarding pursuit of stellar imaging to your bedside table. With academic flare and his signature approachability, Hall utilizes a suite of formats to provide readers with everything they need to begin – and develop. From charts, images, purchasing guides, walkthroughs and detailed descriptions, this Getting Started title is an in-depth resource for today’s astrophotographer at any level of their discipline.

            Leading up to an incredibly useful list of the first twenty-five objects an astrophotographer might image with long exposures, this Getting Started title also offers a range of equipment advice and grounded descriptions of why certain phenomenon occur – as well as what they will mean for you and your shoots.

            Though founded in the clarity and precision of science and photography, astrophotography can nonetheless be one of the most artistic and even sensual crafts, as well as one of the most daunting. A road map is essential when pursuing a rich experience imaging and cataloguing the night sky. Getting Started: Long Exposure Astrophotography, with over 200 illustrations, images, charts and graphs bolstering its clear and instructive text,
takes readers from practical equipment purchases, savvy preparations, and understanding of heavenly bodies, with the proper – and smart – ways to capture their expansive sight, intimate motion, and breathtaking portraitry.

                        From purchasing your first astrophotography telescope, hooking up your camera, taking long exposure images, and finally processing that finished image, this book is rich with provisions and tips. Hall expertly balances his own procedures with general and inclusive guides from set-up to software recommendations.

            So, if you have ever wanted to take photographs of glowing nebulae, spiral galaxies and shimmering star clusters, this is the reference you want on your desk as well as with you out under the sky.

            A journey begins, with Hall exploring in-depth details of field rotation and focusing methods, as well as explaining not just the what and how, but the ever important why. So you won’t just follow instructions for multiple image stacking, you’ll understand the effect and craft of it. And the descriptions of atmospheric phenomenon affecting imaging won’t end there, but lead you to experiments in which you can observe and understand.

            For today’s astrophotographers, access is key. Encouragingly, there is more than ever in many ways. From the quality of equipment that you can purchase to the ready availability of software and meteorological information, it’s a photographer’s dream in many ways. Let this unprecedented scenario work for you, whether you’re looking to take your first photos or enhance your development as a long-exposure cosmic curator.

            From start to finish, Allan Hall’s Getting Started: Long Exposure Astrophotography is your comprehensive resource, taking you from entrance to expertise in the rewarding field of astrophotography – with a focus on the long exposure element that makes for such memorable, lifelong pieces of photography.


Share this post! Facebooktwitterredditpinterestlinkedintumblrmail

Schumacher XP2260 Portable Power Source Review

At some point most of us need a portable power station or source out in the field.  Some of the ones from the telescope manufacturer’s can be a little pricey. Most of us also have a department store in reasonable distance. Most of those department stores carry units like this so I decided to see what they had on the shelves that might work. It really wouldn’t be much of a review if I didn’t have something to compare it to so I will be comparing the Schumacher Portable Power Station XP2260 from Amazon  to the Orion Dynamo Pro 17Ah Power Station.

batteries Schumacher XP2260 specifications: Amp hours: 22 12DC outlets: 2 120VAC outlets: 2 USB ports: 1 Shows charge level: Yes Weight: 25 lbs Warranty: 1 year Est price: $117

Orion Dynamo Pro 17Ah: Amp hours: 17 12DC outlets: 2 120VAC outlets: 0 USB ports: 2 Shows charge level: No Weight: 16 lbs Warranty: 90 days Est price: $140

Looking at the specs it seems that the Schumacher XP2260 has more power, a built in AC inverter, a longer warranty, a digital readout of the percentage of battery charge, and a longer warranty. It also costs less.

Celestron offers one as well called the Power Tank 17 12v Power Supply. It shares pretty much the same specifications and price as the Orion model.

The Orion comes out on top if you want a built in radio, brighter light, red light, or the ability to power other items with the included charging adapters for DC devices. Unfortunately none of this appeals to me, or for that matter, anyone else I know of in astronomy.

The Schumacher comes out on top because in addition to the superior specs, the it has a wider base and is shorter than the Orion unit making it much more stable sitting on the ground. It would also be more stable in the trunk of your car. The Orion and Celestron models just about have to be transported on their side or they will fall over the first time you hit the brakes.

On the Schumacher I am not particularly pleased with the 12V ports as they seem to come lose very easily. It very well may be the type of 12V connector I am plugging into it. I resolved the issue by using a splitter cable which plugs into the battery unit and then allows me to plug in two power adapters.

After using both battery units for a while I would be hard pressed to recommend the Orion over the Schumacher XP2260 with one catch. I would venture to guess that if you had your Orion telescope plugged into the Orion unit and something went horribly wrong with your telescope due to power issues, they would cover it under warranty. This assumes that both the mount and battery unit were under warranty to start with. If however that same thing happened while plugged into the Schumacher unit, I seriously doubt that either company would cover anything.

While I admit this is complete conjecture, the small price difference between the two units is a small price to pay for the extra insurance assuming you are buying a new telescope and power unit at the same time. The bottom line is that while I certainly would not purchase a telescope from a department store, I absolutely would recommend a battery unit from one.

I own both the Schumacher XP2260 and the Orion unit and while both are nice, the Schumacher XP2260 goes out every time I think I might need portable power.


Share this post! Facebooktwitterredditpinterestlinkedintumblrmail

iOptron SmartStar E R80 budget goto

Last month I purchased the iOptron SmartStar E R80 available from Amazon as part of my work on a new book I am working on and needed a low budget solution for AP and this iOptron telescope seemed to fit the bill. You can’t really write about budget AP if you are using thousands of dollars worth of mounts and scopes to get the images, now can you? So after looking around I decided on this iOptron SmartStar for a lot of reasons, not the least of which was the fact that it uses a side mount so the camera presents less of an interference problem with the mount. I thought this would be the perfect cheap astrophotography telescope. It arrived in one small box, here it is with a 12″ scale on top of the box to give you an idea of size, being inspected by my postal inspector:

How it arrived Inside that box is a lot of smaller boxes, again requiring inspection:

Boxes within boxes First out was the mount head, hand controller and cable:

Mount parts Next was the scope and accessories:

Unboxing I wasn’t expecting much from this iOptron SmartStar, and as I expected, the bulk of it felt like cheap plastic. The scope, the focuser, the mount, all pretty much plastic. The build quality was better than I expected for a budget telescope in the $250 range, but was still cheap. What I did not expect however, was how well the SmartStar R80 Computerized Telescope performed…

iOptron SmartStar E R80 Once hooked up and pointed roughly south (odd I thought since all the other scopes I have need to point north) I told it where to go, it went, more or less to the right area of the sky but definitely not on target. Once you sync it to a couple of stars however it is remarkably accurate. In fact, using a low power eyepiece you are virtually assured to get any target in your field of view on the first attempt.

This isn’t impressive on my SkyView Pro or Sirius setups, in fact, “in the field of view” is not acceptable for them, they need to be dead center of the field of view. But when you consider this scope and mount combination cost about one third of what my cheapest goto EQ mount alone cost, it is impressive indeed.

The next impressive thing is the views. How good can a 80mm budget telescope with a cheap plastic tube and a cheap plastic diagonal and a cheap mostly plastic eyepiece be? Better than I expected! In the same league as my other scopes? Well, no, of course not, but far better than the price tag would lead you to believe. In fact, one of the things I thought when I bought this setup was I could swap out the scope for a nice ED doublet, a dielectric diagonal and a real EP and use it as a nice little grab and go scope. While I still may do that I certainly am in no rush as the views of M42, the moon, and Jupiter were quite reasonable.

The one place I was not impressed was the tripod. Stability was not this thing’s middle name, not even its great grandfather’s middle name. Light weight, sure. Easy to transport and set up, yup. Stable, not even a little. The good news is that if ever there was a cheap scope and mount that was worth spending a little money on finding a slightly heavier tripod, this is it.

The basic setup of this iOptron SmartStar comes with the mount, tripod, hand controller, AC adapter (can also run off batteries), 80mm scope, 45 degree diagonal, 25mm and 10mm eyepieces. So over all would I recommend this setup? Absolutely. In fact, if anyone asks me for a suggestion on what scope to get someone showing a faint interest in astronomy without breaking the bank, instead of the normal 8″ Dob a lot of people insist on suggesting, this will be my scope of choice.

Light weight, easy to use, reasonable views, and a nice selection of targets you can just press a button and slew to without doing a lot of star hopping. This should be a real winner for newcomers to the hobby who want a budget telescope and if I had one of these back in the day instead of that awful reflector I started with, I would have never given up astronomy for all those years.


All ratings considering price:

Views: ****

Stability: **

Ease of use: ****

Accessories: ****

Overall: ****

If you would like purchase an iOptron SmartStar E R80 for yourself, please use my link: iOptron SmartStar to help offset the cost of maintaining this website.


Share this post! Facebooktwitterredditpinterestlinkedintumblrmail

Happy holidays!

Tis the season to be jolly, freeze your rear off out in the cold, and spend way too much on astronomy releated presents. Oh yeah, and to celebrate Christmas / Hanukkah / Kwanzaa / Ashura / Etc. What better way to celebrate when you are an astrophotographer than to image the Christmas Tree Cluster, NGC 2264:

This is one you need to spend a little time with, in my case 36 200sec (2 hours) images were combined with 25 darks and carefully stretched in Pixinsite to create a wonderful image full of colors, dust clouds and dark lanes. Notice the Cone Nebula over on the right side. I would love to spend more time on this target and get some more detail out of it, there is way more here than I had originally thought.


Share this post! Facebooktwitterredditpinterestlinkedintumblrmail

M78, a surprising little area of the sky

Sometimes there are targets that just really surprise you, the M78 nebula is one of them. In the charts and books I have it just looked really plain and boring. Granted, in none of the images I had did anyone really put much time and effort into the target. Described as a diffuse nebula, and in most images showing only two small amounts of nebulosity much like this (35 minutes total data):

Typical DSLR M78 image

With almost nothing there but too little wisps of dust, can you blame anyone for not putting much time on the Messier 78? I certainly didn’t want to waste much time here. Then I say something a little above the largest portion of nebula in the above picture that made me wonder.

I set off one night to see what I could get. I started off with M78 on a single really long exposure, fifteen minutes as I remember. I then stretched the heck out of that image right there in the field immediately after taking the exposure. The quality of the image was horrible because I had stretched it so hard that the diffuse nebula of Messier 78 finally started to pop out. I decided to reduce the exposure time to something that would reduce the noise a little and give it a lot of exposures.

After getting home and getting some sleep I decided to see what I could get out of the M78 images I had taken. I was amazed. The more times on target I added, the better the image looked and the more detail that came out. I decided to go out again that night and get some more time.

This target really lends itself to as much exposure as you can get on it. With just about six hours of data and some careful stretching you can get this out of a DSLR image of the target:

M78 starting to be revealed That image took 70 300sec exposures, and as you can see, could use even more. Next year I hope to at least double that amount of time and see what else I can get to come out. I have had one serious AP guy (way above my pay grade, that’s for sure) tell me he thinks this is the best DSLR image he has ever seen of this target. While I am flattered, I think I can do much better, it will just take a lot more time. Looking close at the dust lanes you can see there is a lot of detail that is just barely starting to emerge from the noise.

I hope you enjoyed my images of M78!


Share this post! Facebooktwitterredditpinterestlinkedintumblrmail

Comet 168p Hergenrother and Halloween

On the 12th of this month Comet 168p Hergenrother came very close to us and was quite bright so I decided to image it. The comet was roughly between alpha (Alpheratz) and beta Pegasi (Scheat), about 25% from alpha to beta and is approximately the distance from Earth as Mars.

Path of Comet 168p Hergenrother There are two basic ways to image comets, the first is track the stars so that the comet  streaks across the image:

Comet 168p Hergenrother The second method stacks the images so that the comet appears to sit still as the stars streak across the sky:

Comet 168p Hergenrother alternate image type Either way (or through the 11inch SCT we viewed it through) Comet 168p Hergenrother was an impressive sight. If you haven’t seen a comet, you really should track one down.

More information on Comet 168p is available on Wikipedia.

On a different note, Halloween is almost upon us so it is only fitting we have a spooky target. I picked IC2118, the Witch Head nebula just above Orion. I shot this target a while back and failed miserably, so much so I deleted all the files which is unusual for me. This time is not fantastic, but at least it is clearly obvious what the target is 🙂

Witch Head Nebula

This target is a very faint reflection nebula. This means the glowing gas that you see in the image is actually light from nearby stars reflecting off the nebula. It does not emit any light at all.

Another problem is that this nebula is right next to Rigel, a very bright supergiant star. This makes it very difficult to image, at least for me. Think about reading a newspaper at night taped to the front bumper of your car while the headlights are on shining in your face. That should give you a pretty good idea.

Hope you enjoyed the Witch and Hergenrother, Happy Halloween!


Share this post! Facebooktwitterredditpinterestlinkedintumblrmail

All 110 Messier objects imaged, finally

Messier objects are not only some of the most accessible deep sky objects, but also the most beautiful. I guess I should not say all 110 Messier objects finally as some people never complete this, and others take years. I have completed it in less than a year. While this is quite the accomplishment I should point out quite a bit of my images of these targets really stink because I rushed the process.

This may seem like a stupid thing to do, or it was done just so I could say I got all 110 in less than a year, it was actually done at breakneck speed to teach me a lot of lessons including the importance of preparation, scheduling of targets, meridian flips, and much much more. For every crummy image there has been a lot learned, and that is worth way more than a really good image. I can now get setup, aligned, on target and imaging with incredible speed and accuracy. What used to take me two hours can now be done in less than one with greater accuracy than before. I can also do the same in reverse, breaking down and packing up in less than thirty minutes. Here are all 110 Messier objects images comprising the entire Messier catalogue:

all 110 Messier objects The other really nice thing about doing all 110 Messier objects this fast was that I got to see a lot of amazing objects in a very short period of time. I saw open clusters, globular clusters, galaxies, asterisms and a wide array of nebulae. This was an incredibly rewarding project for me and I urge everyone to view and/or image as many Messier objects as they can, they won’t regret it.

You can find out more about the Messier objects, and Charles Messier, at Wikipedia. You can also hear about my visual observations of most of the Messier objects and as well as others on my audio commentary pages.

I hope you enjoyed images of all 110 Messier objects!


Share this post! Facebooktwitterredditpinterestlinkedintumblrmail