My most popular DIY project which I think is now in at least two of my books is this one. Since so many people enjoy it I thought I would post it on the blog for everyone to use. Remember that this is primarily for inspiration and not really meant to be a recipe for one that will work with your scope.
Well since I have started really working on my post processing I have noticed the need to start shooting flats. The problem is, you must shoot flats without moving the camera, scope, focus, anything. This means they have to be shot on site, right before or right after shooting your lights.
There are a couple of problems with that. All the designs I have seen are large boxes, I don’t want to carry around a large box to the dark site and besides, something that large might disturb the dust bunnies and mess up the whole idea of flats. Next problem is if anyone else is there, flicking on a light could get me shot (this is Texas here, heh). So what do I do?
First thing I do is come up with a list of what it needs to be able to do, so here goes:
1) It must be easily portable, small and light. Anything heavy can mess up the scope’s setup.
2) It must be reasonably accurate. The light must be uniform in illumination.
3) It must be reasonably inexpensive, the EL panels I have been looking at run about $100, lets keep it under that.
4) It must be usable when other images are right next to me, no light leaks.
5) It must be servicable, meaning I can repair it, replace things, etc.
Off to Home Depot I go! I know they thought I was some terrorist getting bomb supplies, I walked up and down every isle grabbing weird items, putting others back, fitting things together that were completely unreleated. Boy did I get some weird looks! After about an hour I left with this:
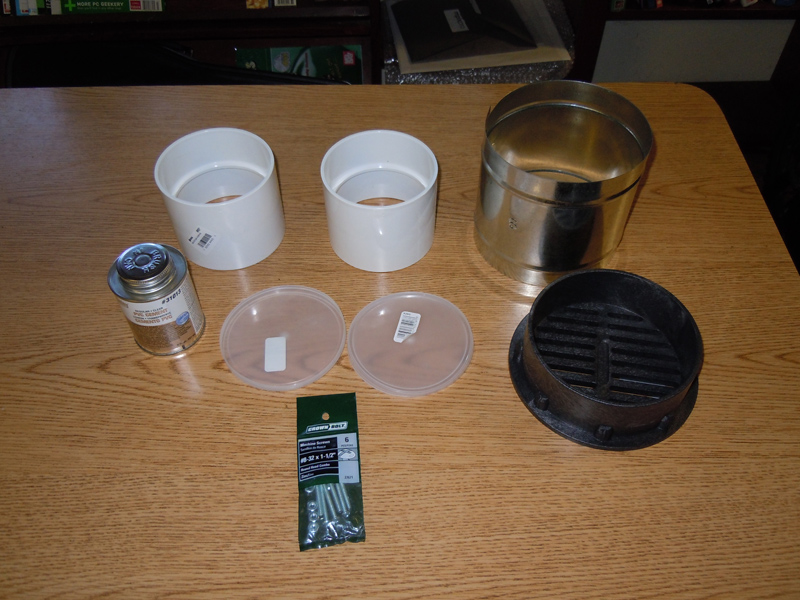
This was two 4″ PVC sewer pipe connectors, a 6″ flashing connector for I think a stove exhaust vent, a can of PVC glue, two translucent lids, a 6″ plastic floor drain grill, and a bag of bolts.
Next stop, Radio Shack!
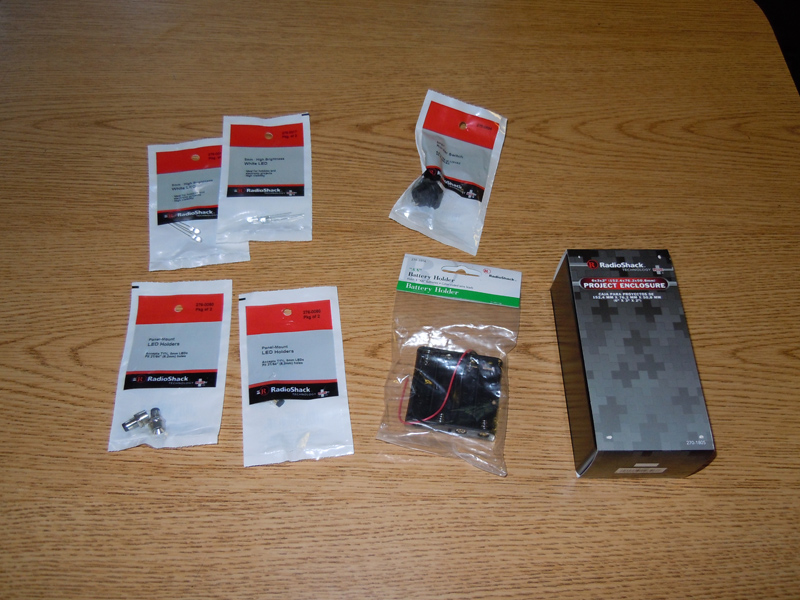
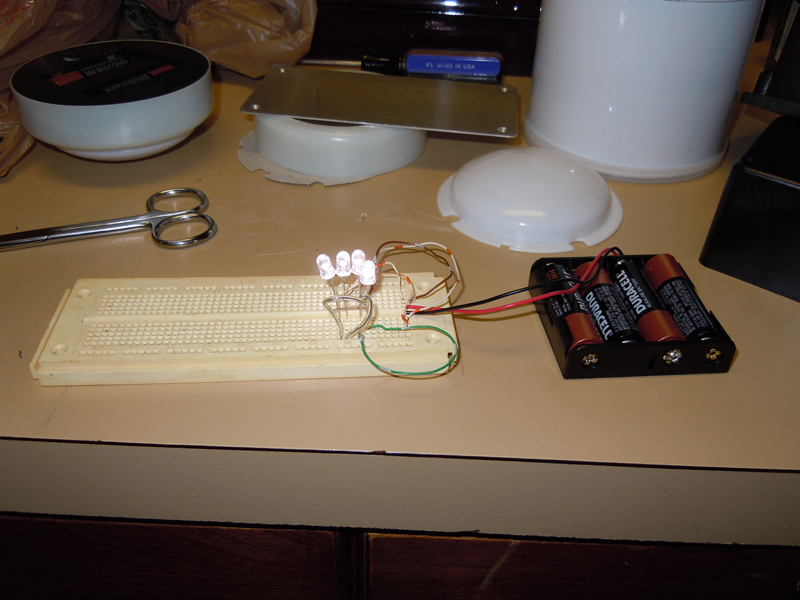
Here I found 4 white 3v LEDs, 4 LED mounts, a rocker switch, a 4 AA battery holder, and a project box. Next stop, Wal-Mart!
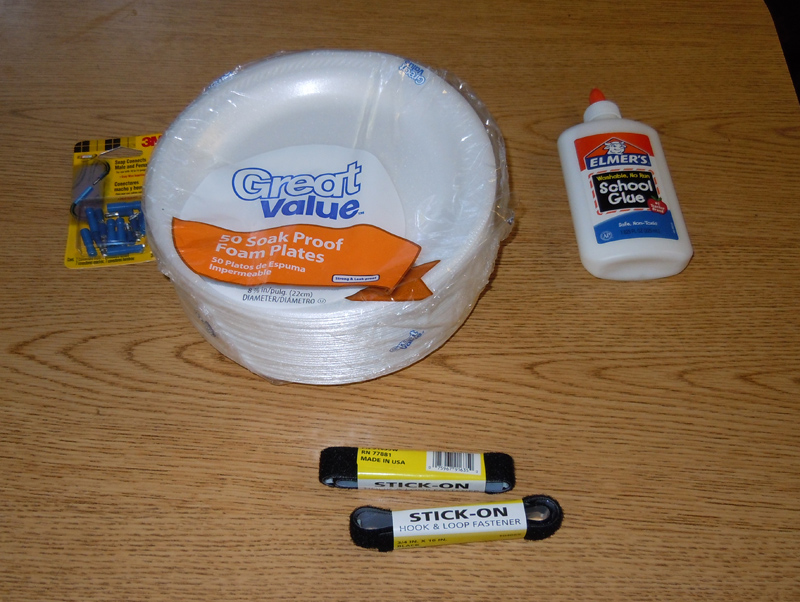
Left to right we have a box of male and female electrical connectors, some styrofoam plates, glue and some velcro.
Now its time to start working on stuff. The first thing I needed was a Proof Of Concept. For this I put things together and mounted it on the scope with just some clear tape and used one of those battery powered lights you press down on the top to turn on. That gave me my first flat:
This clearly shows I need flats. This image has been stretched and desaturated, it was brown (used an incandescent bulb). Next was to test out the batteries and LEDs:
Good! Now I know I can get them all lit up. Lets mount the battery pack to the top of the project box with hot glue:

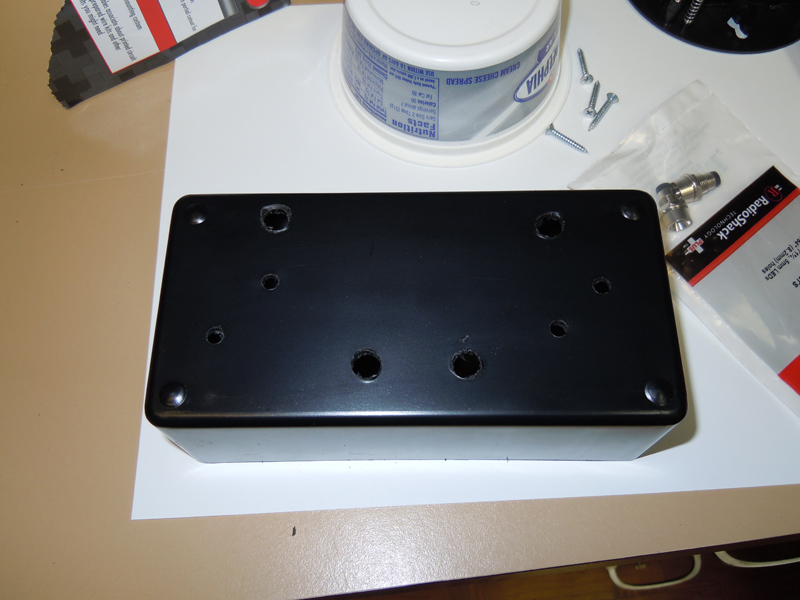
Now we drill holes in the project box, four large ones for the LED mounts and two (well, four now cause I goobered!) smaller ones to bolt the project box to the drain grill:
Now we bolt the box on the grate and install the LEDs:

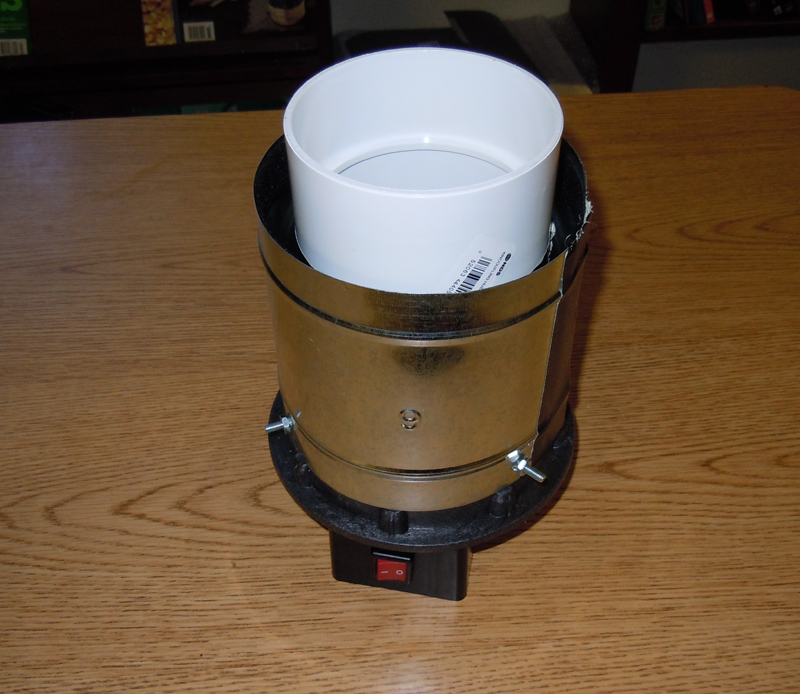
Now I open the package of velcro and take the fuzzy strip and run it around the inside of the 6″ metal connector, on the opposite end of where it will mount to the drain grill as this will protect the paint on the outside of the dew shield. Next we glue the two 4″ sewer pipe couplers together and mount them inside the 6″ metal connector:

Here is the outside view:
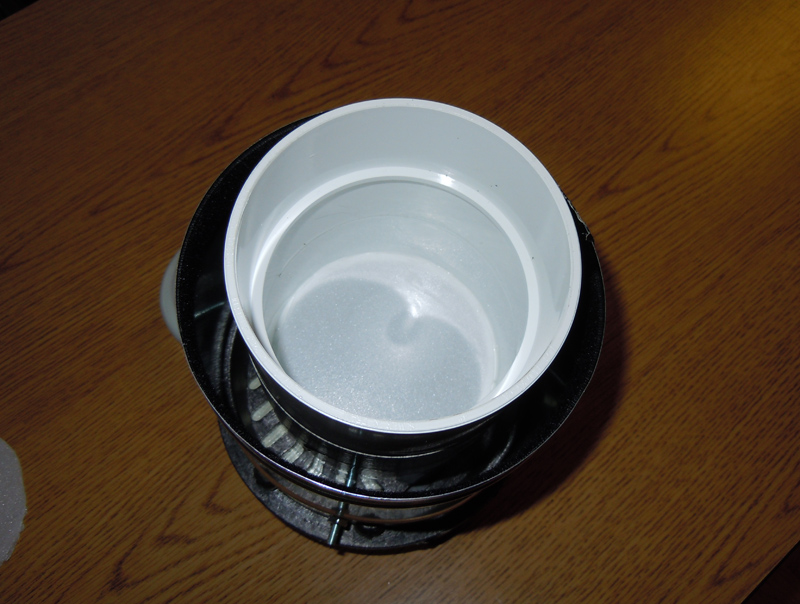
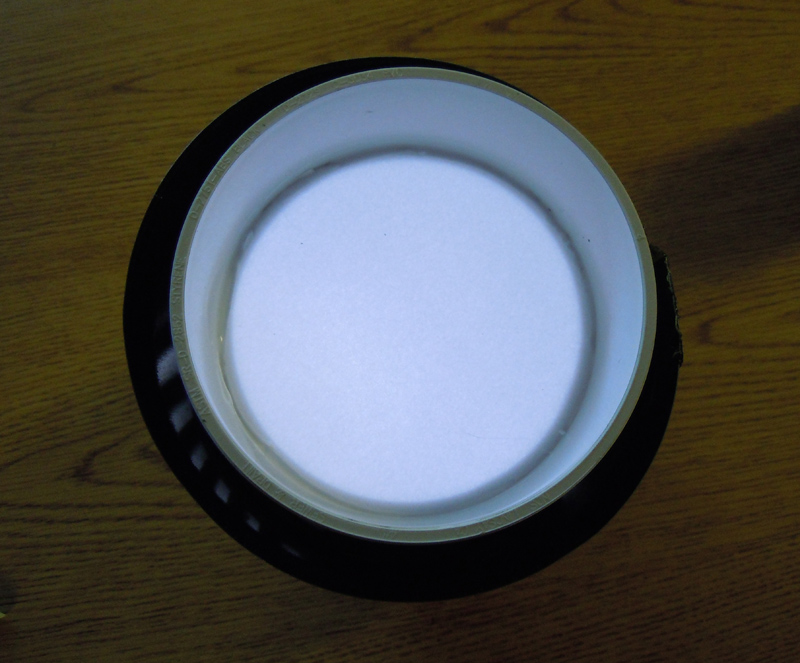
After a little wiring, we cut the paper plates into two circles for difusers, here is the first one installed:
So I turn on the lights and there is a problem, the light is nowhere near even enough to take a flat:
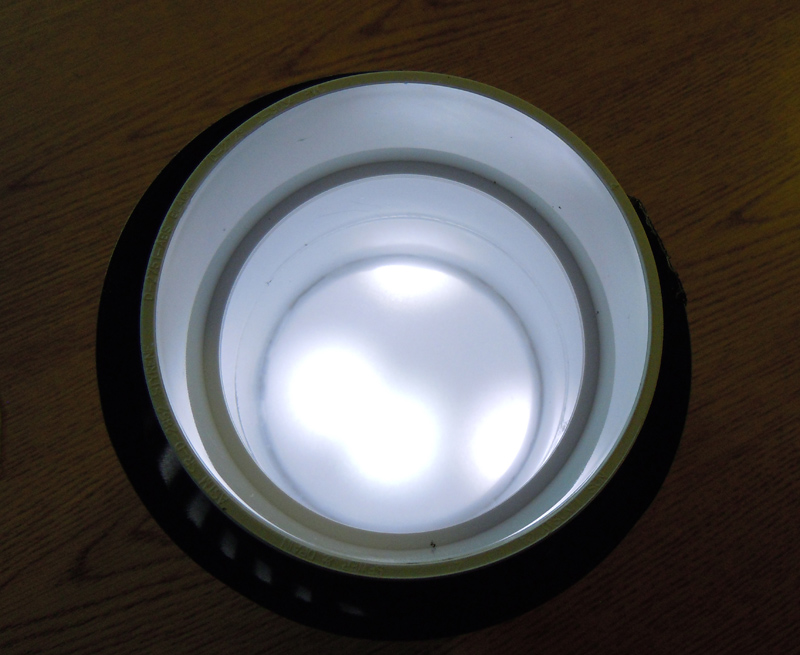
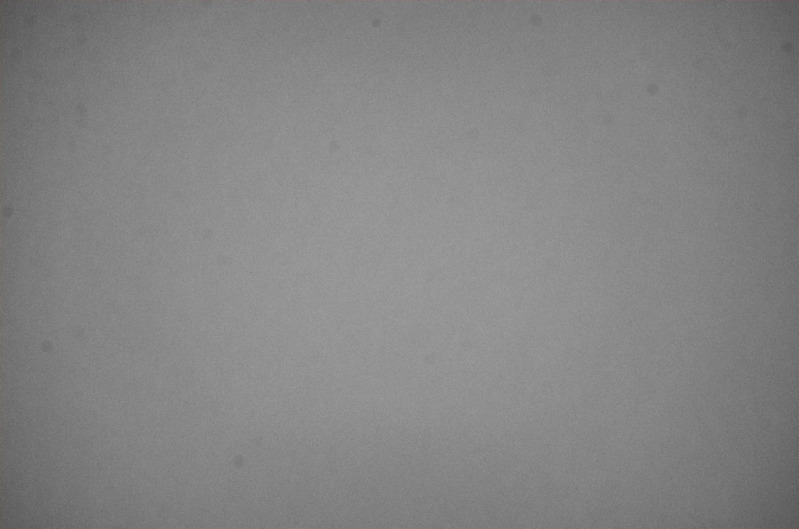
But I am not as stupid as I look! (or feel sometimes), I had actually planned on this and so I install the second difuser in it’s place four or so inches in front of the first diffuser and I get this:
HA! Nice even illumination! Lets put it on the scope:
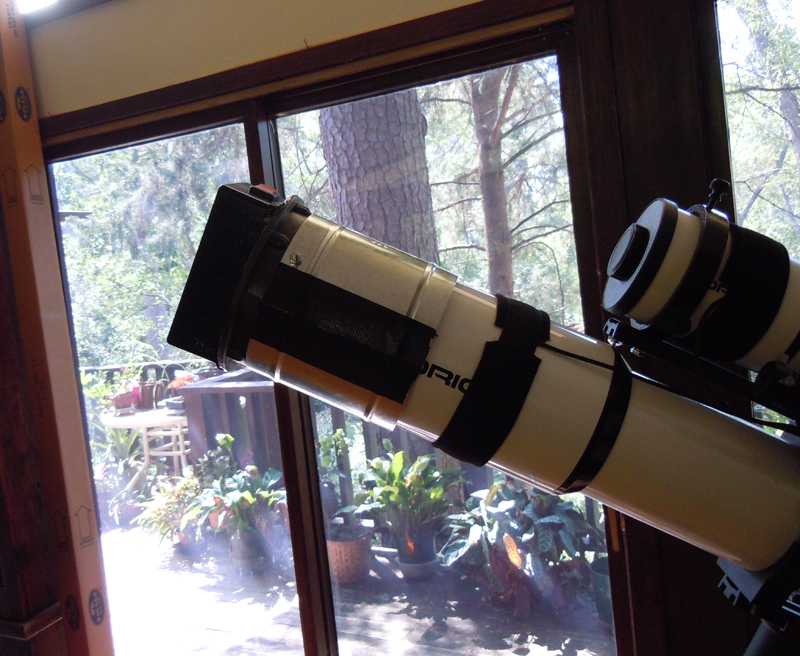
And take a flat to see how it works:
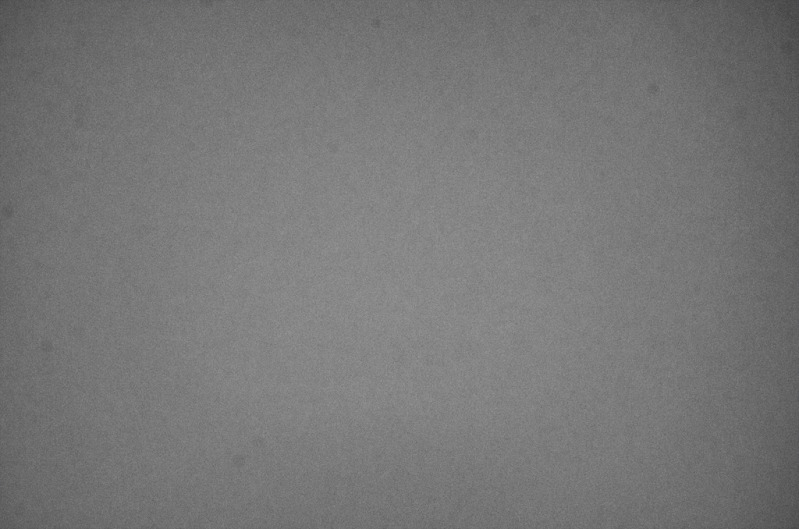
So a little information:
Size = 7.5″ diameter x 10″ tall/long
Weight = 2lbs 4oz with batteries
Cost = $60 buying everything except a little wire and solder
Time to construct = About 3 hours
Exposure for about 40% sat on histogram = ISO800 1/60th sec
Now since the light goes down the inside of the sewer pipe couplers, to leak out it would have to come back up the outside of the couplers, curve around the end of the scope, and go down the metal coupler on the outside. I don’t see much light doing that. After dark tonight I will give it another test and let you all know how it goes.
Hope you enjoyed!
Allan
Share this post!